Discovering the network


Discovering the network |
|
|
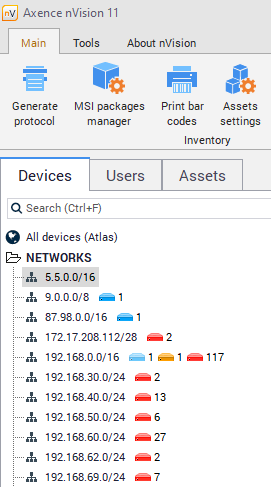
You can add as many networks to the Atlas as you need. When adding a network, it will be scanned for hosts so first you have to go through the network discovery wizard to define scanning options. 1.Click the Discover new network option (on the Tools tab). 2.Follow the screens of the wizard. For a description of all options available in it, refer to Network discovery wizard topic. When the discovery process is finished, the program will create a network map or a set of maps for the discovered network. The networks will be created as a tree. This tree shows network dependencies between them - the networks created as children are networks connected to the parent map. Let’s see the following example:
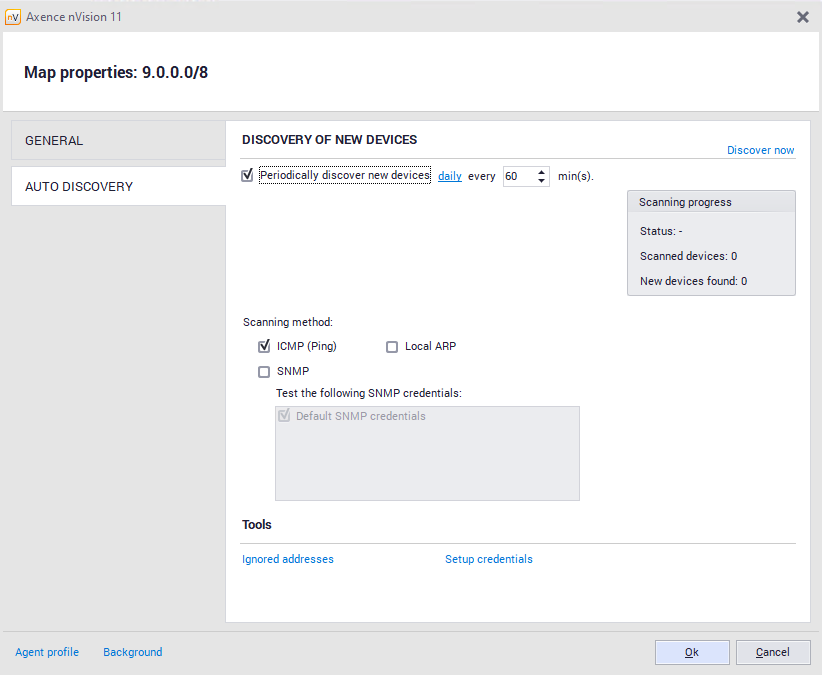
As you can see, the network 192.168.0.0 is a child of the network 172.17.208.112. It means that those networks are connected through a router. nVision discovers all routers and connected networks, which allows you to see the network logical structure. nVision can also discover hosts automatically by selecting the Discover a new host option from the map context menu. This process can be carried out periodically. 1.Select the map on which you want to enable the automatic discovery. 2.Open the Map properties window and select the Automatic discovery tab, which allows the discovery process to be configured and started. This tab also shows the current status and progress on the status bar. 3.Select the Periodically discover new hosts option. 4.Configure the frequency and time of discovery. 5.You can also start the discovery by clicking the Discover now button.
|