Import skanów inwentaryzacji


Import skanów inwentaryzacji |
|
|
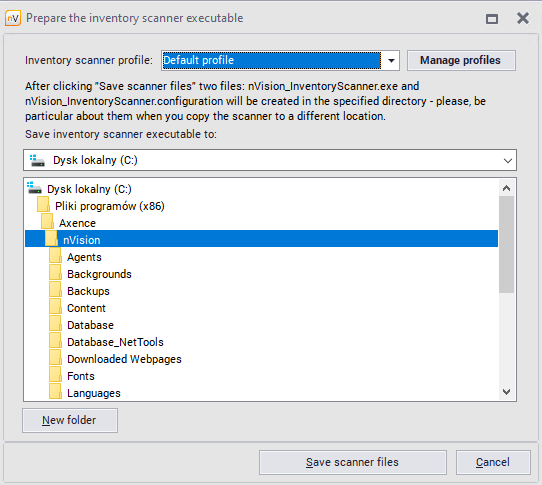
The inventory scanner is a portable tool that allows manual collection and download of device data without Agent installation. It can also be used if the scanned computer cannot be connected to the network. To manually import inventory scans, follow these steps: 1.Prepare executable file from inventory scanner a.In the Tools tab select the Inventory scanner executable option. b.Select the location where the inventory scanner files are to be created (e.g. flash drive). c.Set the inventory scanner profile, i.e. what information will be collected by the scanner. You can select from the list an existing profile, edit an existing profile or create a new one. d.Click the Save Scanner Files button.
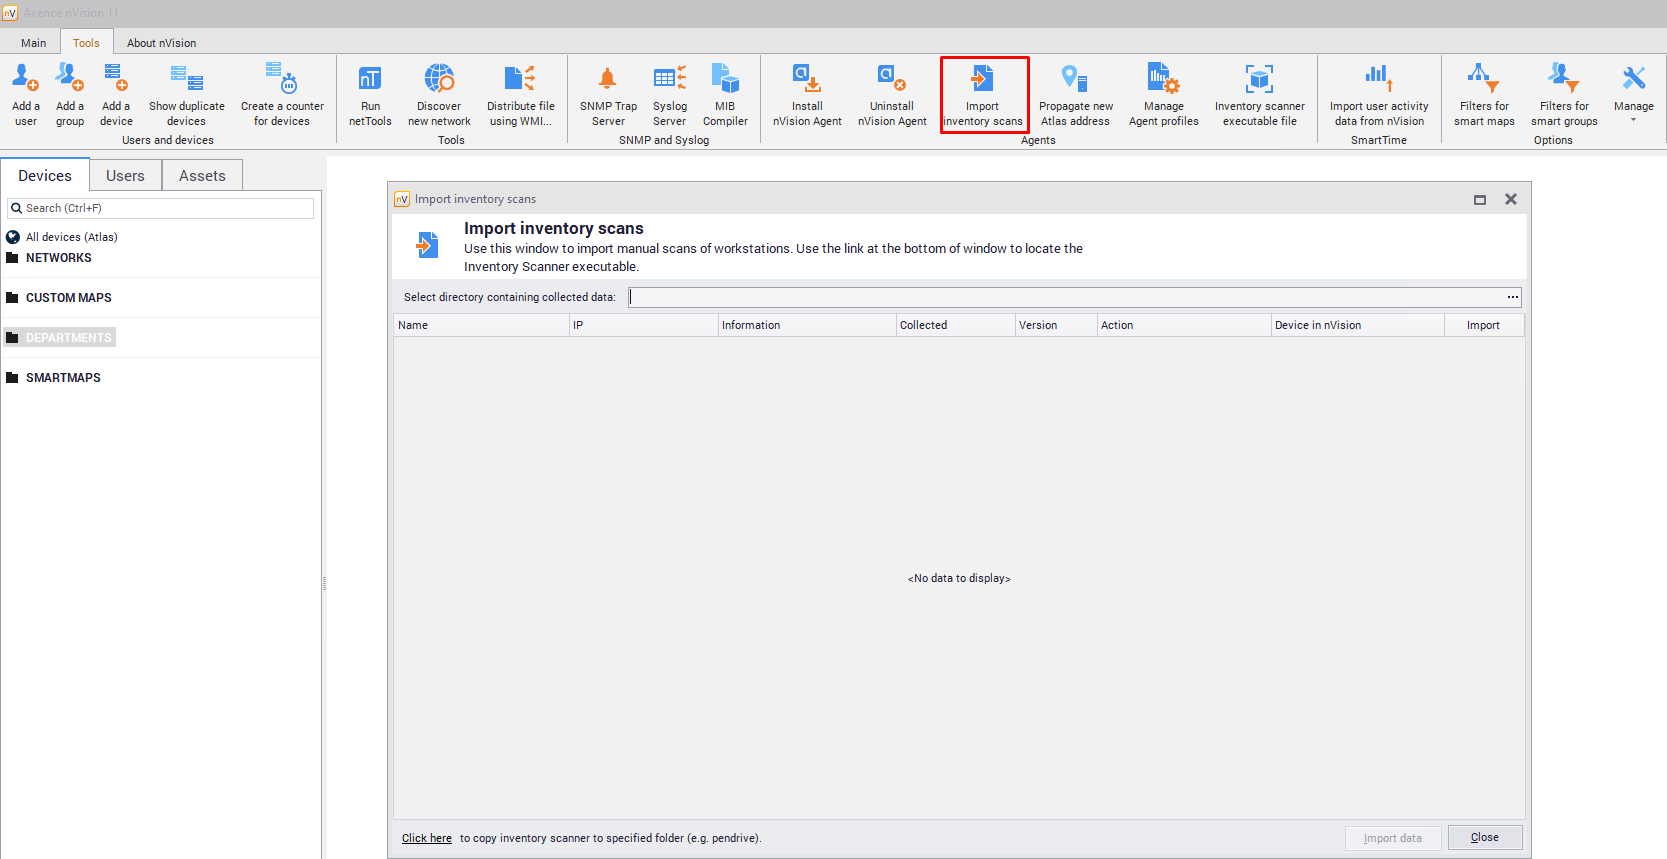
2.Perform inventory scan. If you copy the scanner to another location, make sure both scanner files are copied (nVision_InventoryScanner.exe and nVision_InventoryScanner.config). Run the inventory scanner executable file (nVision_InventoryScanner.exe) on the computer to be scanned to start the scanning process. 3.Data import a.After scanning, copy the created folders (Data and Logs) to the location that will be visible from the nVision console. b.In the window of importing inventory scans (Import inventory scans in the Tools tab) select the folder where the scans are located (i.e. the Data folder previously copied).
c.Check, if Import field is selected for scanned device, then click Import data buton. d.If the data import has been successfully completed, the message is shown (Import successful). |