Adding an article


Adding an article |
|
|
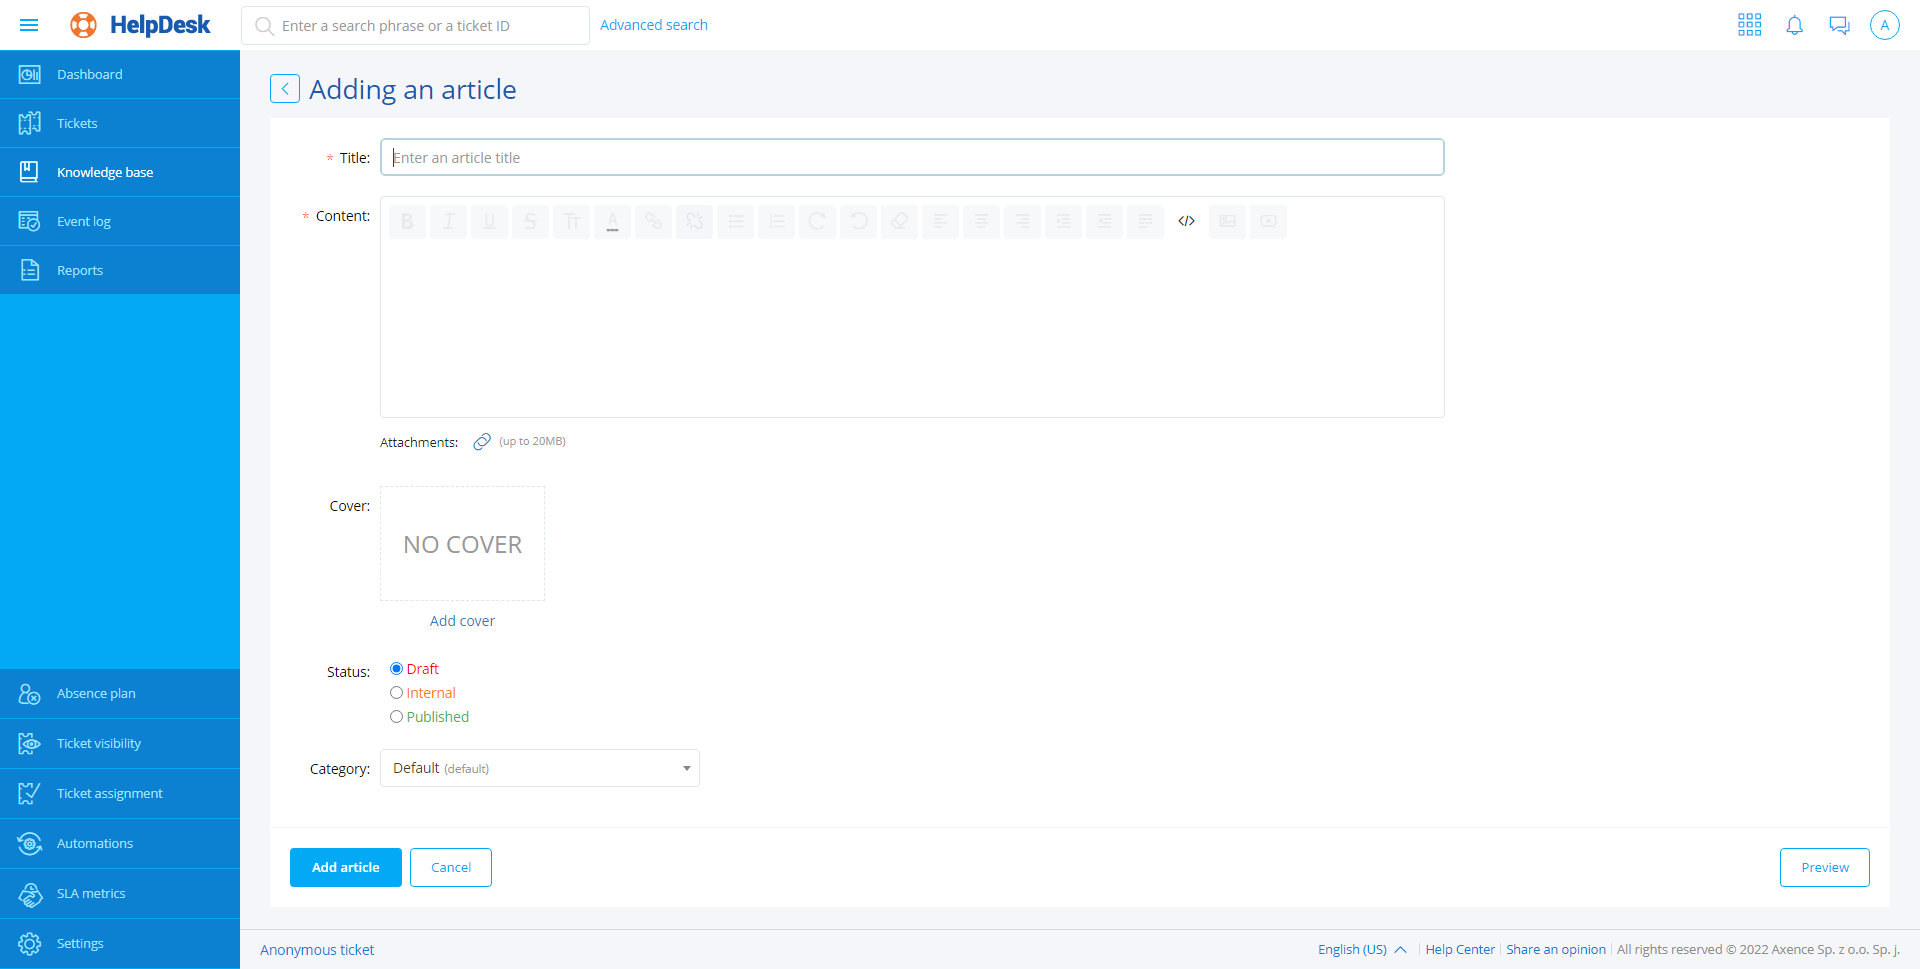
To create a new article in the HelpDesk interface: 1.In the Knowledge base view click the Add article button. 2.Add article Cover (optionally). 3.Enter article Title. 4.Type the article contents in the embedded text editor. 5.You can attach an image or a link to an external video with the use of Upload image and Insert video options. 6.Set the article Status as Draft, Published or internal (default setting: Draft). Articles marked as drafts are not visible to end users. Articles marked as internal are only visible to HelpDesk employees. You can supplement the article and edit its status at a later time. 7.Select the article’s Category from the list of available categories. You can add a new category without interrupting the article creation process. 8.You can view the created article by clicking Preview. To return to the article editing window, click Back to editing button. 9.When the article is completed, click the Add article button.
Related topics |